Maptun XT Coilover Install - FWD Vehicles

The Maptun XT Coilover Kit can be purchased from Swedish Motorsports here in the USA - https://www.swedishmotorsports.com/
Please use this as a guide to installing your Maptun XT Coilovers in your Sport Sedan/Convertible/Combi. Always make sure to get a proper alignment after doing any kind of suspension work. The proper way to align coilovers is with a weighted alignment.
If you're working on a 2003-2005 9-3 you'll have to purchase the two brackets below, if you're working on a 2006+ the brackets will be there already since you have the updated struts. Maptun included two pieces with rubber isolators that you can form into brackets if you'd like. I took some time and made some, however I wasn't happy with the way they turned out.
The brackets can be easily found on Esaabparts.com if needed:
- LH: https://www.esaabparts.com/saab/parts/12772032
- RH: https://www.esaabparts.com/saab/parts/12772033
Tools You will Need for this install:
- External Torx Sockets/Wrenches
- Metric Sockets/Wrenches
- Hex Sockets
- Pry Bar
- Angle Pliers
- Paint Marker/Pen
- Angle Grinder
- Hydraulic Jack
- Jack Stands (please always support a car you're working under by jack stands)
Starting out with the front -- you don't need to remove the rotor as I did in the pictures -- although it does make it easier.
First off remove the sway bar end link. You may need to use an angle grinder here depending on where you live. I always replace end links.

Next remove the Brake line hold down and the wheel speed sensor wiring. I used an angle pliers on all of this including the plastic hold down for the wheel speed sensor. Gently pull that off since it will be reused.


After this you will remove the two lower bolts on the strut assembly. Note how they are facing toward the rear of the car -- on reinstall you will want to make them face the front for easier install of the bracket that holds the brake line/wheel speed sensor wiring. The way I remove these is to loosen up the nut to the end of the bolt then tap them out with a hammer -- then completely remove the nut and pull out the bolt. -- Pry the bottom of the strut away from the knuckle with a small pry bar.

At this point you can remove the 3 bolts from the top and remove the strut.

Below you will see the difference in height between the Stock Aero front assembly and the Maptun XT Assembly. This is at the height the Maptun Assembly came out of the box.

Next up -- it's time to install the Maptun XT Front Strut Assembly. This is pretty much the opposite that the removal process was with a few tweaks.
Start by tightening down the top 3 nuts.

At this point you will want to adjust the collar for the sway bar link. You want to make sure that this is at the same height on both sides so I personally suggest using a paint pen to mark it at full low then twist up and count the number of twists per side (I twisted mine up 3 twists). You can adjust yours as you see fit. Once you get this to the spot you want it in continue on -- you will tighten the set screw in a later step.

Next you will install the two bottom bolts in the assembly with the nut end facing toward the front of the car.

After this grab your new brake hose/wheel speed sensor wiring bracket and the paint marker. You will have to take this and line it up then notch it out to fit in the right area of the Maptun strut flush. I used an angle grinder.


After notching this out, tighten the nuts down and then add in the wheel speed sensor wiring then the brake hose with the clips removed from the factory strut.


Once the brake hose and speed sensor wiring are back in place take the sway bar end link and line it up with the mount. Take the link and tighten it down then snug the set screw up. The set screw does not have to be cranked down, it just needs to be snugged up as to not cause damage to the threads.

At this point if you've disassembled the brakes reassemble them. And you're done and can go on to the next side and repeat the steps above. Continue on for the rear assembly.
For the Rear -- Step 1 is if you are on the drivers side and have xenon headlights remove the leveling arm. I forgot to take a picture of this step, however it's a small arm connected to the lower control arm and a black box on the body. Just remove the bottom portion -- I believe this takes a 10mm wrench and socket to do.
From there I start with removing the rear shock.
There are 3 bolts in the top mount (only the lower corner actually has to be removed, the other two can just be loosened. And one on the bottom. I had already removed the mount and shock by the time I took these pictures.


Next remove the bolt holding the lower control arm to the knuckle. SUPPORT THE CONTROL ARM WITH A JACK since this will be under pressure (the spring is already removed in the picture below. After this bolt is out you will be able to lower the jack (SLOWLY) and then remove the spring by pulling down the arm.

Here is a comparison between a stock Aero Convertible rear spring and the Maptun XT Spring. Both with and without the adjuster.


Next take the lower adjuster and adjust it to the desired height. Mark it with a paint marker/pen and twist it to the lowest setting then adjust to ensure that you do the same number of twists on each side. Make sure to snug the bottom ring to ensure the adjuster can't move.


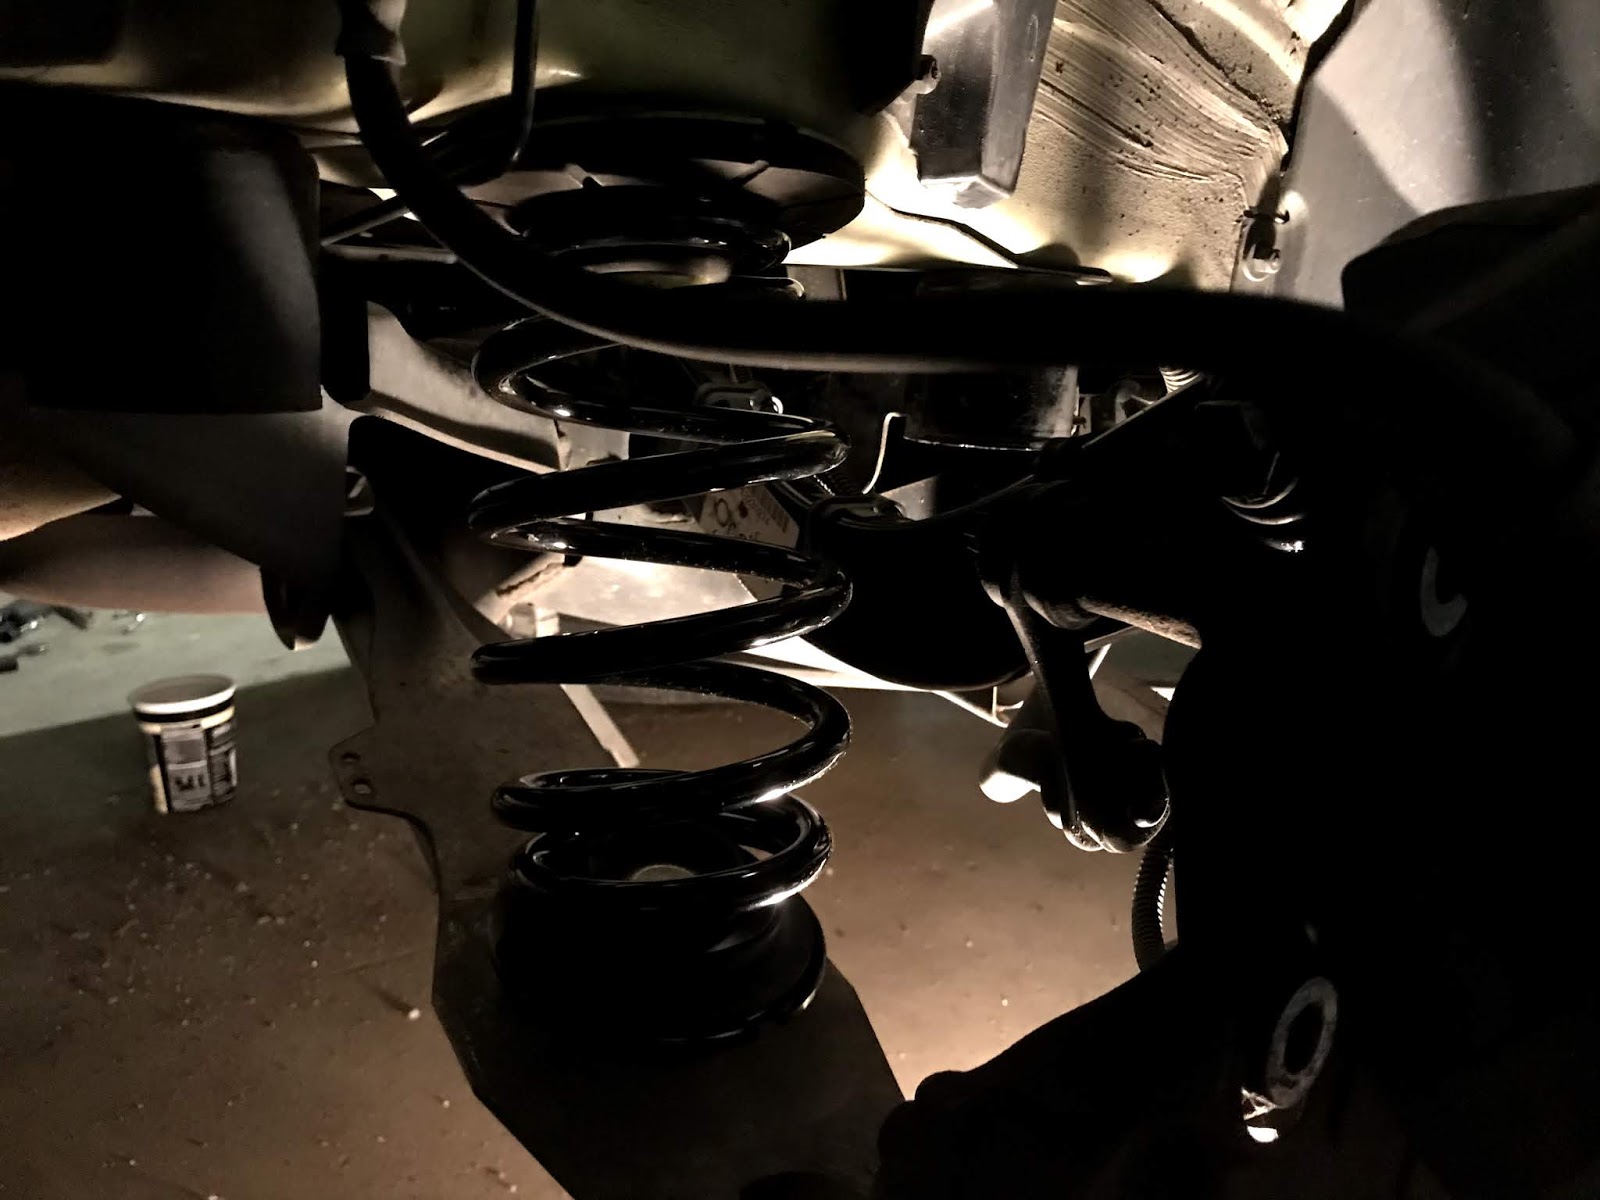

Now that you've installed the spring you can concentrate on installing the rear shock. First off remove the stock shock from the upper mount -- unless this is cracked or damaged. If the upper mount is cracked or damaged replace it.
To install the rear shock on the shock mount first put the small washer that Maptun includes with the rear shock on the bottom. Set the shock mount on top of that then top with the large washer and the nut. Tighten down this combination.


Once this is complete you're ready to reinstall the rear shock. Take the rear shock and cut the zip tie on the botom. DO NOT LOSE, DAMAGE OR MISPLACE the other half of the busing that comes out -- its a two part bushing and must be installed that way. First attach the mount to the body and tighten down -- then reinstall the bottom of the shock to the lower control arm.


If you removed the Xenon level arm please make sure to reinstall that. If for any reason you removed the brakes (I was in the process of doing brakes on mine) make sure to properly reinstall the brakes as you removed them.
Repeat for the opposite side and you're done!
If anyone has issues, questions or anything please comment below.
.jpg)
.jpg)
.jpg)
.jpg)


